A beginner's guide to Focus Stacking
This useful technique often used in landscape, insect and product photography, involves ‘stacking’ together images to achieve a larger focal length than that possible in a single image.

When you use a wide aperture (let’s say f/1.4), the focal length is at its minimum and as a result, it covers just a small part of an object. This is useful when you want to draw the viewer's eye to only one part of an image but what if you want to show more detail?
You could shoot at a narrower aperture, (say f/16). But moving the aperture farther from a lens’ 'sweet spot' (the sharpest part of the lens) can introduce lens diffraction into the image, resulting in a loss of focus. It may also bring parts of the image into focus that you don't want. At times, choosing a narrower aperture will call for an increase in shutter speed, which may not be possible without increasing ISO and introducing noise.
So, what is the solution? Focus stacking is when you layer photographs together at different focus planes to produce one image that is all in focus, from the nearest subject to infinity.
You typically only need to focus stack your images in landscape photography, when you are too close to a subject and the mid and background are not in focus. Think about those times when you want to have a strong foreground element, leading into another sharp part of the frame. Focus stacking can help make this happen.
A good example is the sample images here of a tulip field in Wynyard, Tasmania. I shot this image with a 14-24mm wide-angle lens.
If you want to try it yourself, you will need a tripod and some time (as focus stacking isn't a quick process).
I started by getting my composition right and then locking down the tripod. I turned on live view and focused on the nearest point by magnifying x10. Then I took a photo.
The next step was to repeat the process by shifting the focus point further forward 'into' the frame.
If you need to adjust for movement, in my case the flower blowing in the wind, shoot with a faster shutter speed.
Take care to layer your images and move slowly and deliberately through the frame taking images as you go, to ensure sharpness.
I took six images in total for this image.
Editing
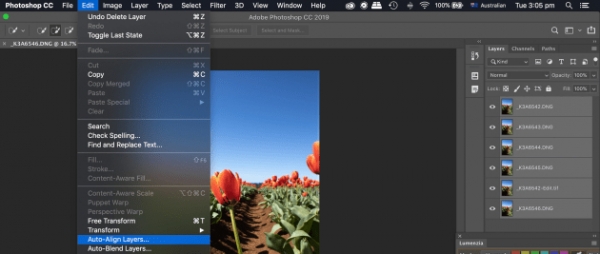
First, open up all the individual images as layers in Photoshop.

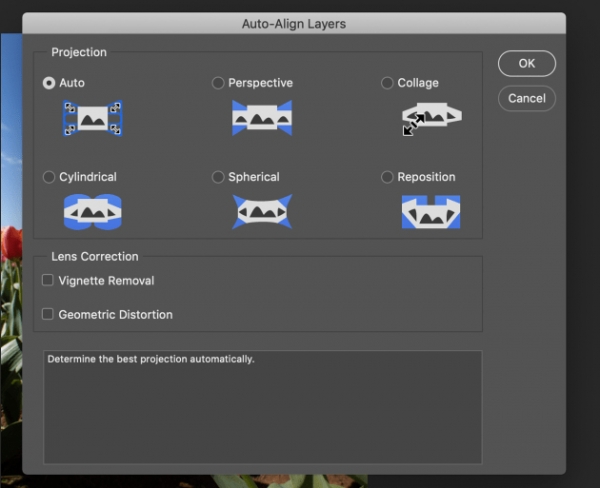
Highlight all the layers and choose edit > auto-align layers.
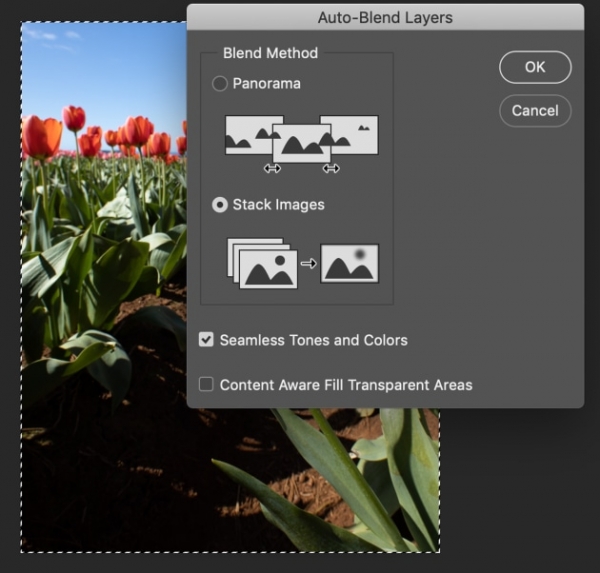
Crop accordingly and choose edit > auto blend layers (tick seamless tones & colours)
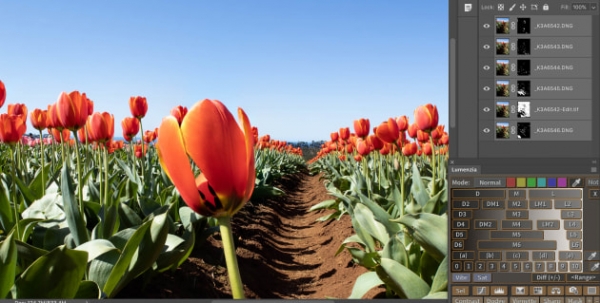
Then, flatten all your layers and voila, you have your focus stacked image.
Over the past 20 years, Alfonso has photographed everyone from politicians to artists and everything from exquisite food to amazing landscapes.
If you would like to learn more about Focus Stacking on a photoworkshop in Sydney, Melbourne or Tasmania, go to www.clik-trip.com